Exploring the new BloodHound Community Edition
In the realm of cybersecurity, Active Directory is a critical component for managing and organizing a network, controlling access to resources, and ensuring security. BloodHound takes a unique approach by utilizing graph theory to map out relationships between different elements in Active Directory, such as users, groups, and computers. This graphical representation helps security professionals identify and understand potential security risks, such as privilege escalation and lateral movement paths that attackers could exploit.
Introduction
BloodHound has moved away from the app-based instance and having a hard time installing the application. Instead, users can now install the new web-based BloodHound with a docker-compose one-liner.
Some new features that we’re introduced:
- Support for REST APIs
- Containerized deployment
- Enterprise-grade user management
- Protected Cypher searches
- Reliability and performance upgrade
- More frequent updates and community contributions
- Better community support
Setup BloodHound CE on Kali
Running the example Docker Compose project requires the following:
- A Docker-compatible container runtime. Either Docker or Podman (with Docker compatibility enabled) will work great.
- Docker Compose
Docker compose plugin
1 | sudo apt-get update |
Optional: One-Line command for Steps 1-3
1 | curl -L https://github.com/SpecterOps/BloodHound/raw/main/examples/docker-compose/docker-compose.yml | docker compose -f - up |
Download and store docker-compose.yml in the directory from which you would like to run BloodHound CE.
Open a terminal interface, and from the directory you selected run docker-compose up
◦ To run BloodHound CE without the need to maintain the terminal interface, use docker-compose up -d, and then docker-compose logs to see the most recent logs from the environment.
Docker Compose will download the required container images and initialize them. The logs will display the randomized default password to log into your new BloodHound CE environment.
https://support.bloodhoundenterprise.io/hc/article_attachments/17679328396187
Copy this password and open a web browser to http://localhost:8080.
Log in with the default username admin and the password from the logs.
◦ The password cannot be regenerated. If you lost the password, simply run docker compose down -v and then docker compose up to reset your databases.You will be required to change the password, thereafter you’re logged into BloodHound CE!
User management
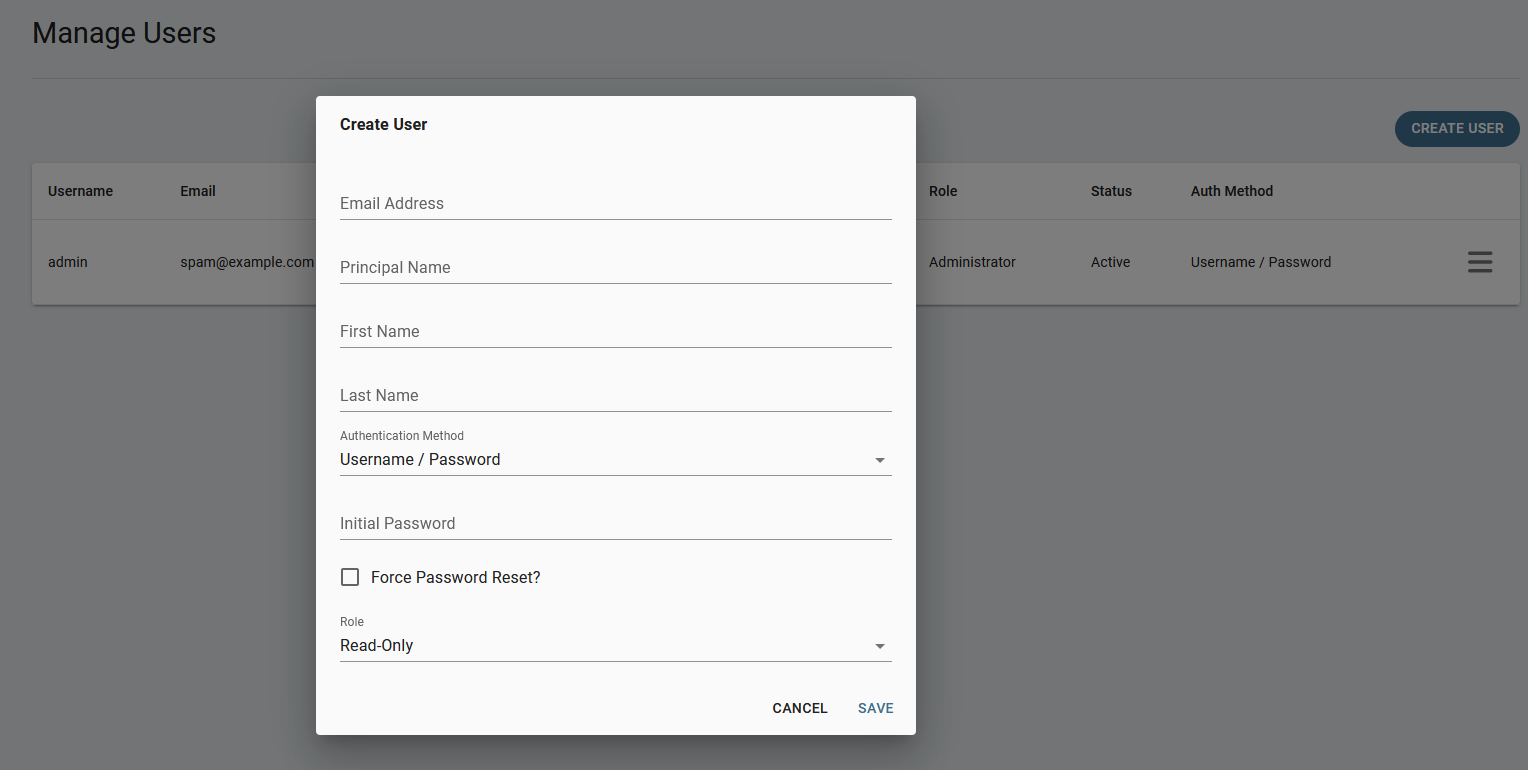
The new BloodHound CE also features a multiplayer mode. To register new users go to administration → manage users
This way you can work on the same assignment with your team.
- You can perhaps setup a local machine or server to host BloodHound.
Collecting data
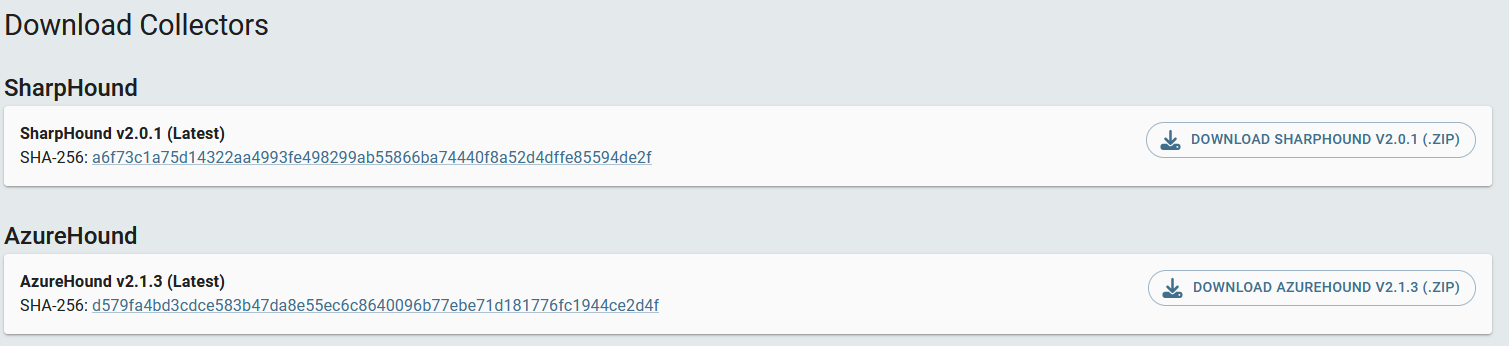
BloodHound now features a tab that shows the collectors with the compatible version of your BloodHound instance. To find the tab, go to settings → Downloads collectors
More collectors
Uploading data
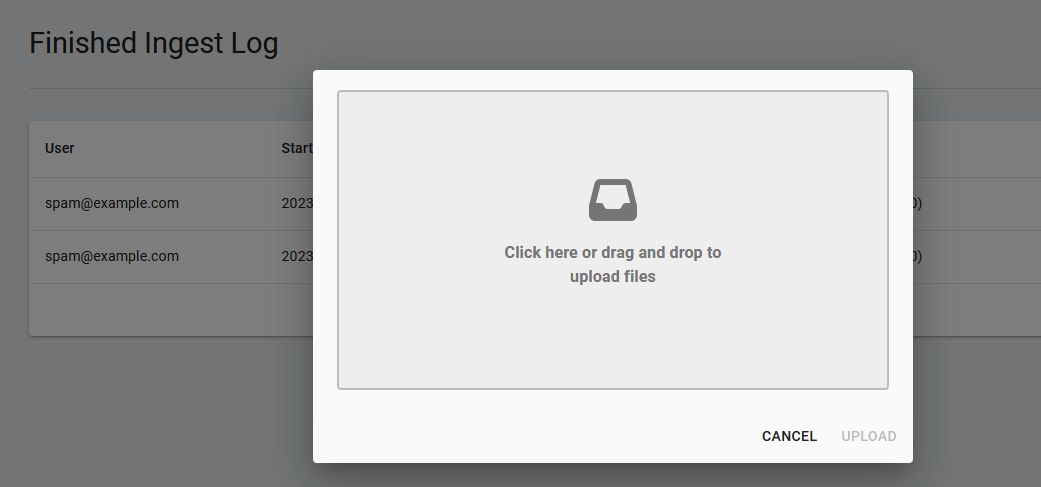
There is not a drag and drop feature within the main view (yet). Instead we must go to settings → administration → file ingest → upload file(s).
- Now there opens a drag and drop field or we can select from the file system.
After dropping or selecting the files, the process is very smoothly. It takes a bit before we can work with the data, depending on the size of your collection.
Now lets get into the fun stuff!
Working with our data
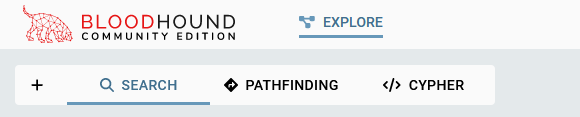
The new interface has a main tab called “explore” from here we can select:
- Search
- Pathfinding
- Cypher
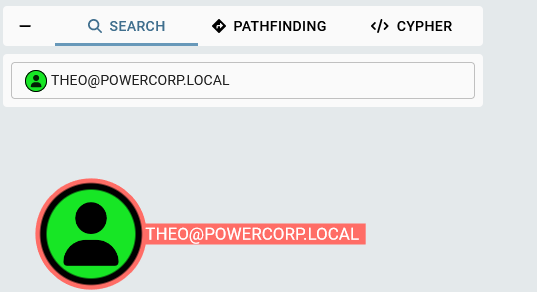
Search
This is just the same as before but a lot smoother and a new interface
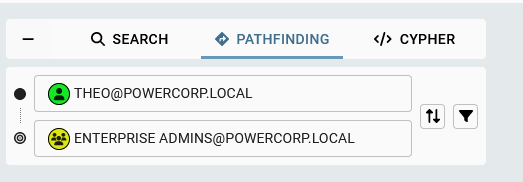
Pathfinding
I like how the pathfinding tab is setup. We can fill in our start Node and destination Node:
- This will show the path from start to destination if there is one:
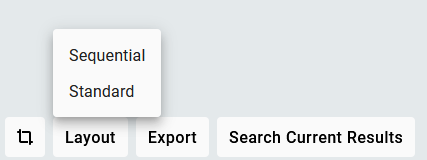
Layout
We can also change the view from standard to sequential.
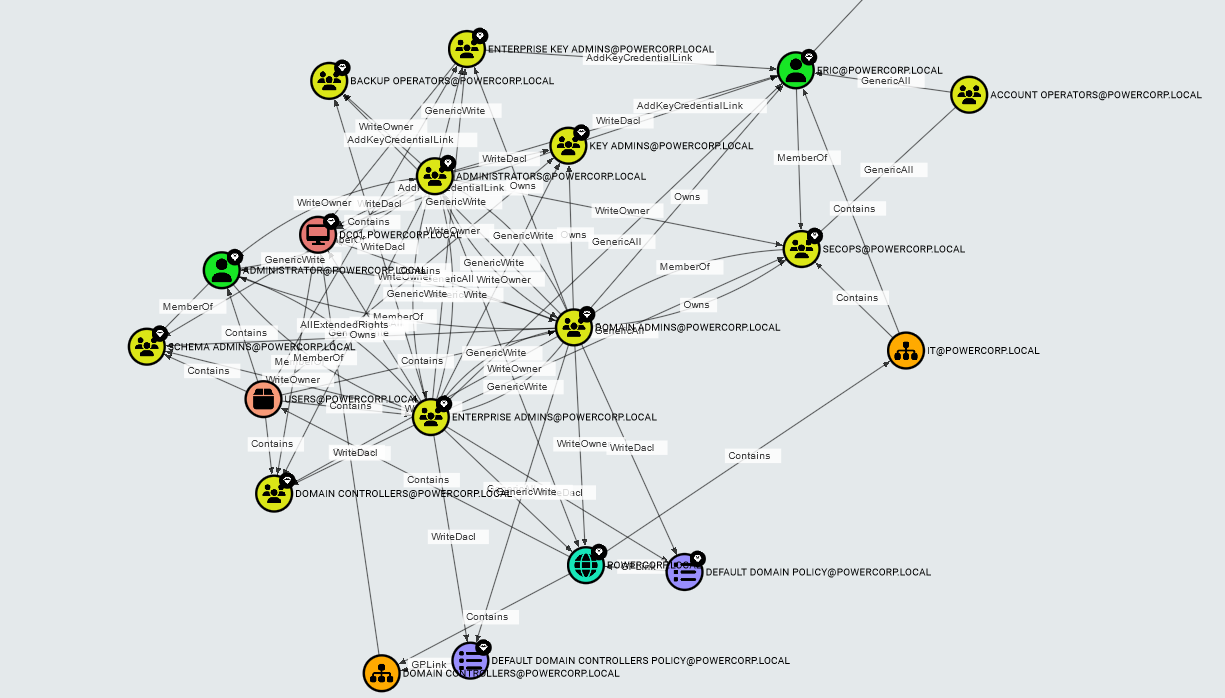
Sequential will give a more structured view. Very handy with situations like these:
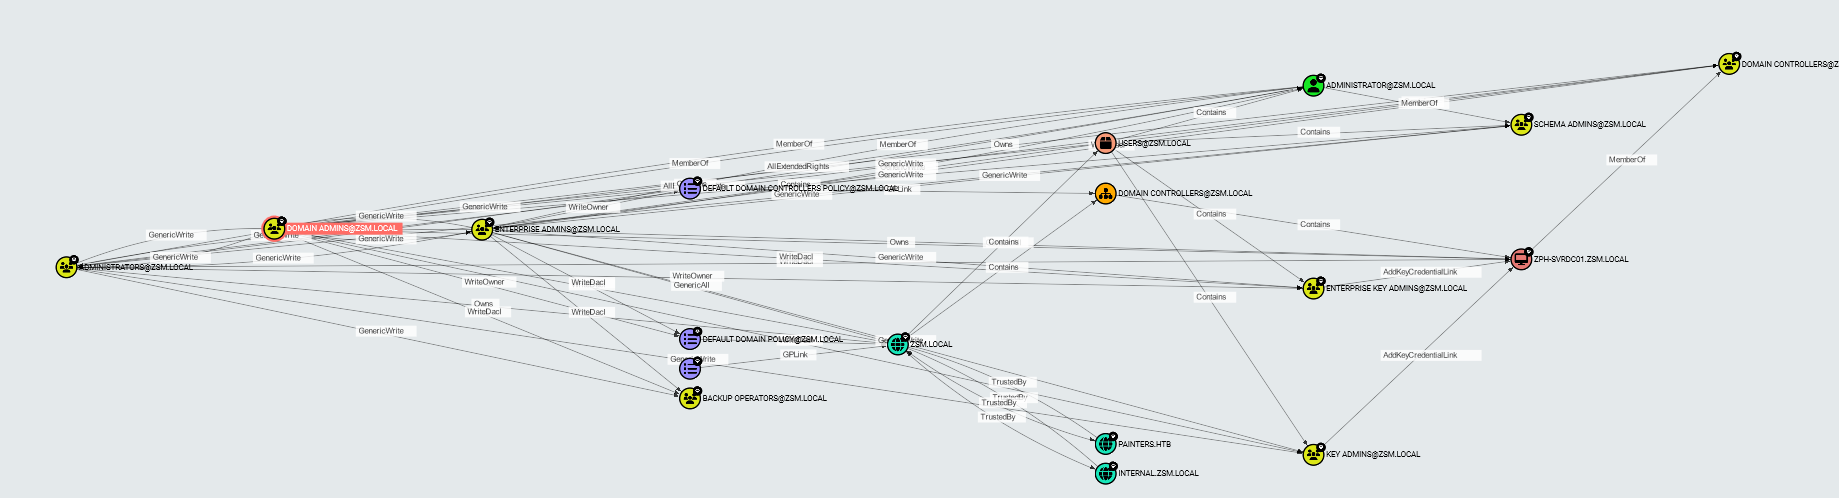
- This is the default view for “Shortest paths to high value/Tier Zero targets”
Let’s change it to Sequential:
Way better to start with at least!
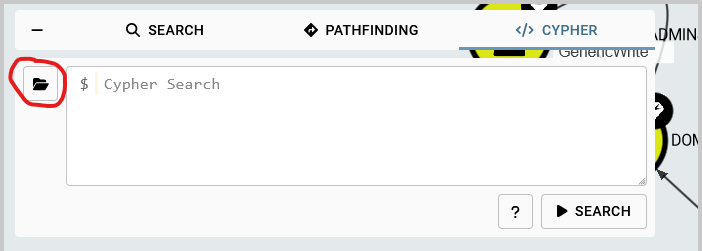
Cypher
One of the most overlooked features of BloodHound is the ability to enter raw Cypher queries directly into the user interface. Likely, a lot of that has to do with the fact that it’s not a very emphasized feature and requires learning Cypher. However, with some work, using raw Cypher queries can let you manipulate and examine BloodHound data in custom ways to help you further understand your network or identify interesting relationships.
Just like SQL exists for MSSQL and other traditional relational databases, Cypher is a language designed for graph databases with its own syntax. Cypher enables users to write queries using an “ASCII-art” style syntax. If you can describe the path you’re trying to find, you can probably right it in Cypher.
Pre-built searches
Luckily for us, we already have some pre-built searches for Active Directory & Azure! To list these click on the folder tab next to the input field:

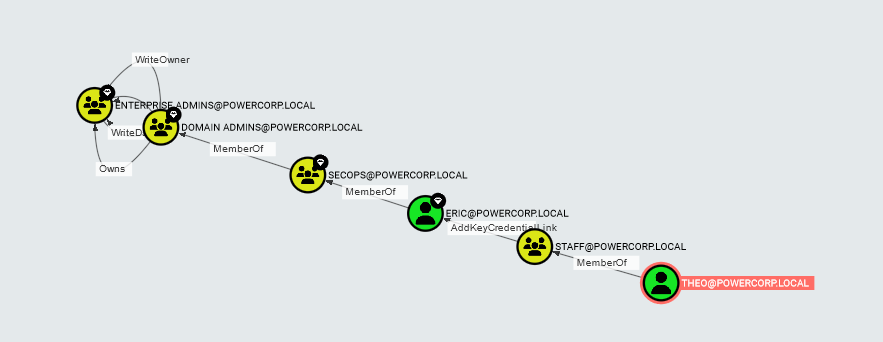
For example lets click shortest paths to domain admins:
- With the sequential view!
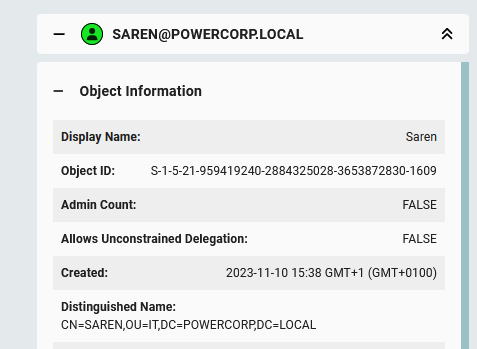
Working with Node’s
We haven’t talked about the node’s themself. If we click on one we can see a tab opening on the right.
From here we can also click tabs to get all necessary information from the node:
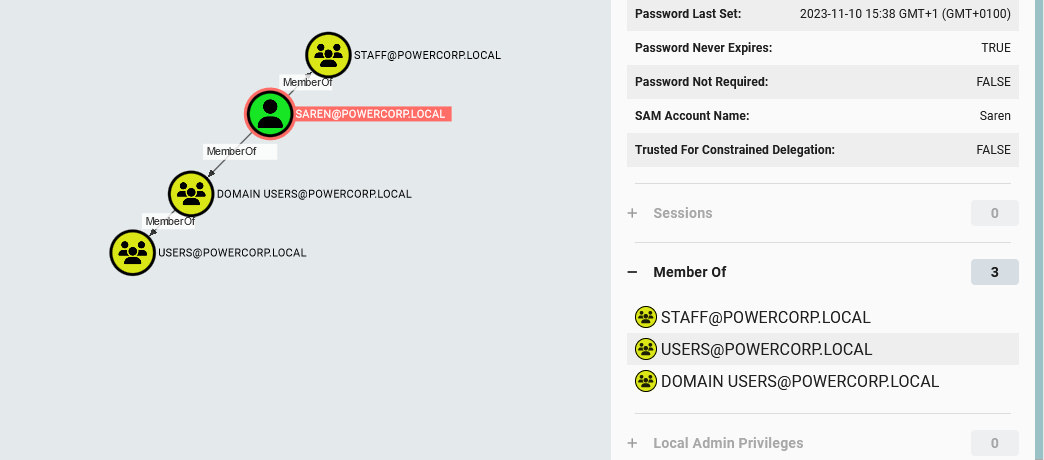
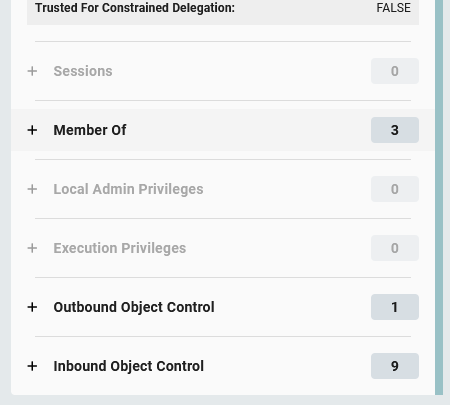
For example, let’s click “Member of”
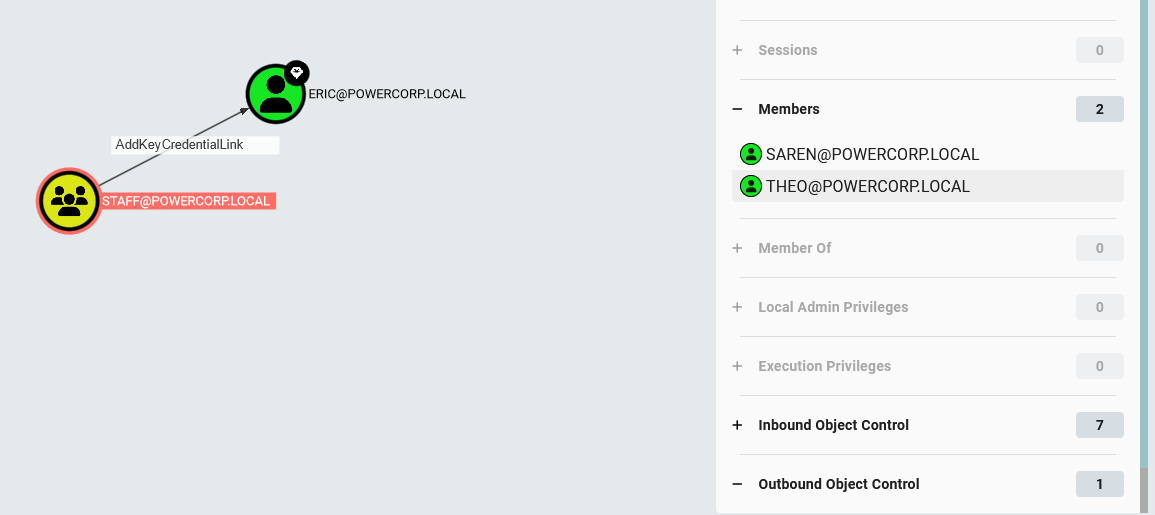
- We can see Saren is member of the “Staff” group. Lets click the staff group.
- From within the node tab we can click on “Outbound Object Control” Which means the Staff group probably has permissions over some other object in the domain
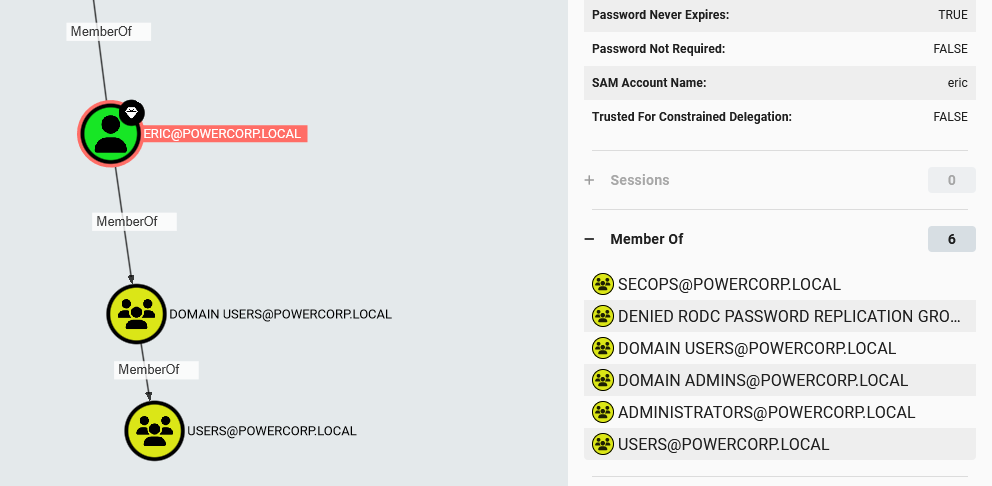
Now we can see that members of the “Staff” group have the “AddKeyCredentialLink” permission over the user “Eric”. If we click Eric, we can see that he is member of “Domain Admins”
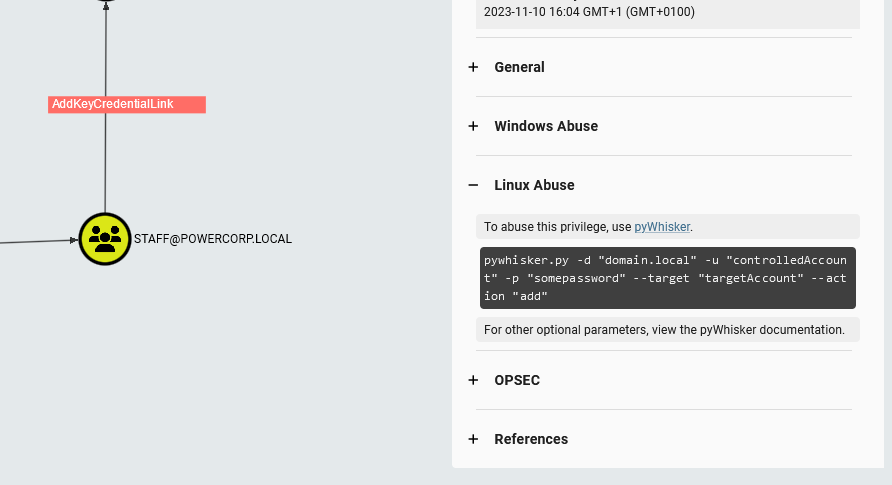
Listing attack paths
When we go back to the “AddKeyCredentialLink” permission. We can click on it. This also opens a tab on the right for us to see how we can attack this misconfiguration:
Conclusion
The new browser based BloodHound instance is way faster, smoother and has a better overview. However, I still miss some features from the app-based instance. One example is that you are not able to mark the user as “High value” or “Owned”. These features will come very soon according to BloodHound.